Showing posts with label Tools and Equipment. Show all posts

Thursday, September 25, 2014

Vulcan-ized!

Two Men and a Truck arrived this afternoon, delivering an awesome Vulcan stove for our commercial kitchen!
Two guys had managed to load it from a garage with a steep driveway, but they called in reinforcements to help unload it.   Josh wondered how the heck just two of them were able to get it loaded by themselves. It has 6 burners a griddle and two ovens - it is a behemoth!
Four men expertly unloading the Vulcan. This range came from gourmet friends who used it for many years in their home kitchen but were remodeling with something smaller.  They kindly thought of us and our Commercial Kitchen project! We didn’t think we would be able to afford a commercial range until well after the bakery part of the kitchen was finished and earning revenue. How wonderful we won’t have to retrofit the space for a stove!
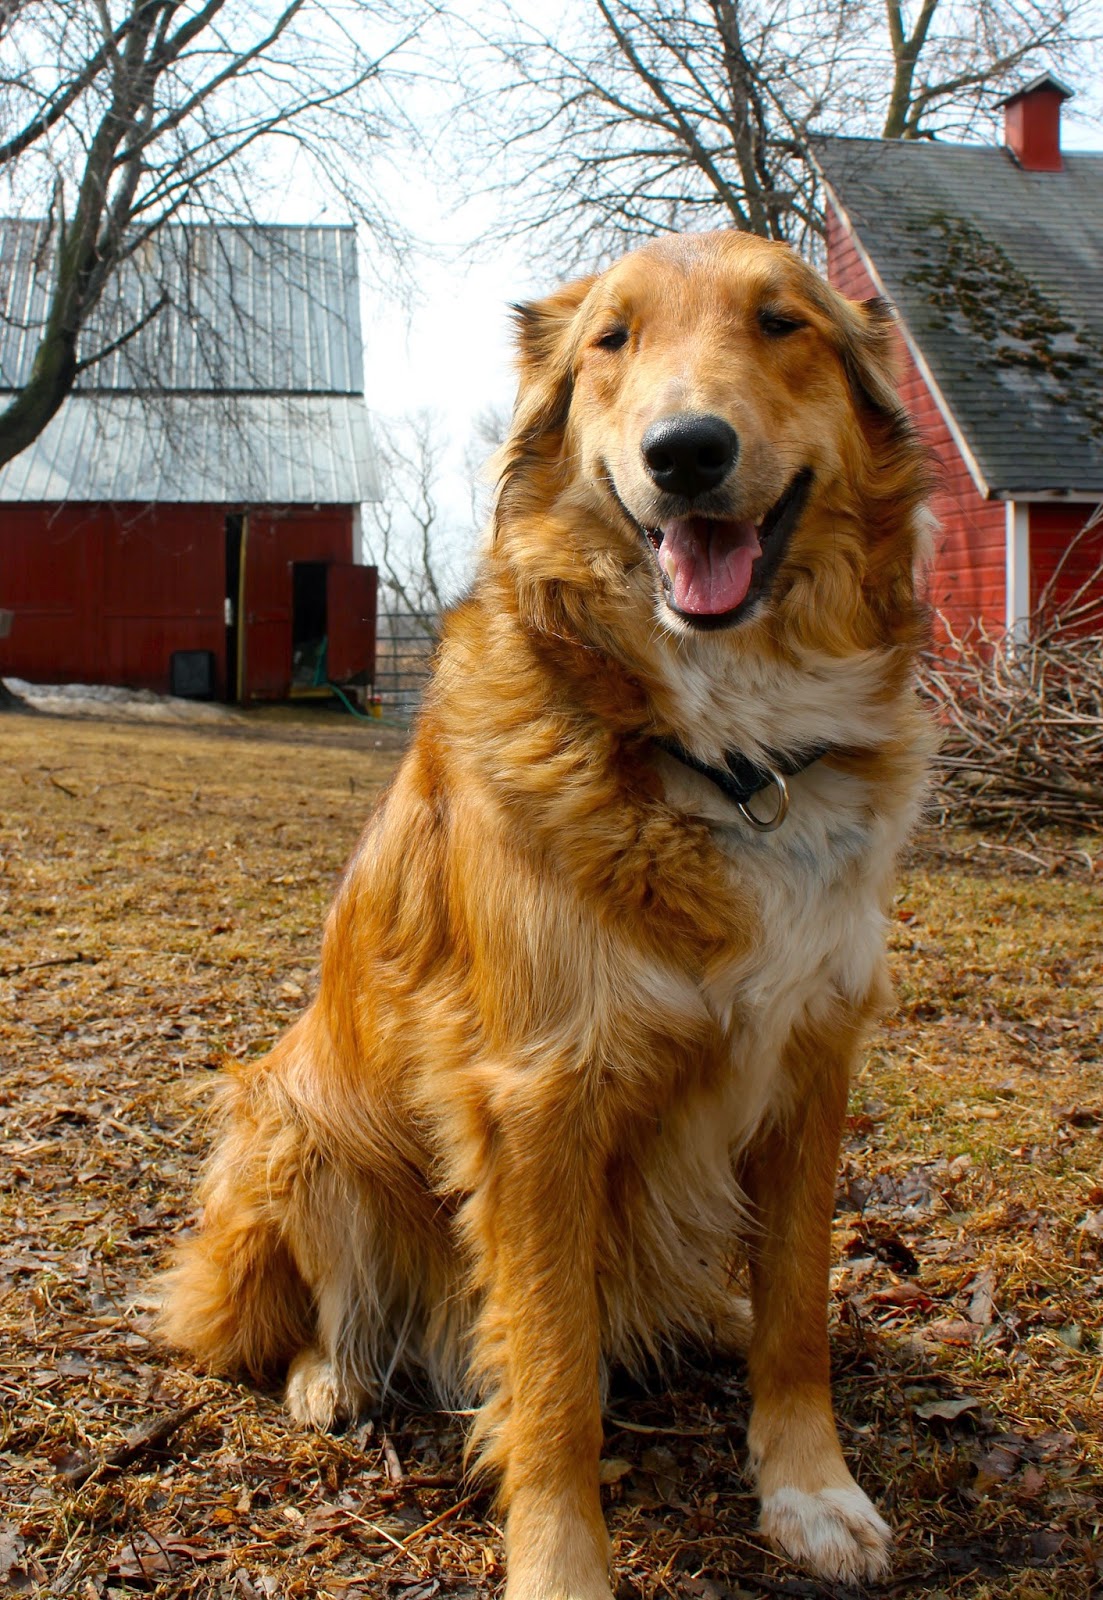
Zinnie supervises.
The range is carefully wheeled through the doorway.
The strong moving crew in front of the beautiful range, set in a temporary spot  in the barn.  These fellows will be back in a month or so when the kitchen construction, plumbing and wiring are completed, to move it into its designated place.
Maybe we will celebrate by making them some wood-fired pizza! 

Friday, August 1, 2014

End of an Era

My Grandma Waughtal’s bread mixing bowl met its demise today in the line of duty while baking for market.

I have been  using this bowl for almost 35 years, since around 1980, when my grandma moved to live with with my aunt and uncle in Oregon and my sister Rita moved into Grandma’s house for a year. She said I should have it because I was the one in the family who baked bread. I always thought it was one of Grandma’s wedding presents, but I don’t know if it was quite that old.

This was the bowl that Grandma always made her famous cinnamon roll dough in. We kids spent many an afternoon spent drinking milky tea and devouring hot cinnamon rolls while playing Scrabble with Grandma. She mixed her chocolate chip cookie dough in it (the last pan of cookies ALWAYS  burned on the bottom, but we assured her we liked them that way). This bowl has memories of  Dilly Bread, baked in coffee cans, associated with it, too. Both of my daughters requested to inherit the bowl.  I found the same bowl only in better shape on EBay and told them one would get the original and one would get another, more perfect, version. Now they will both get lovely copies.

Never fear, this noble bowl will continue in my life--it will go on to becoming art, in some as-yet-to-be-determined mosaic project. 

Wednesday, April 9, 2014

Not-Exactly-Wordless Wednesday: Spring at Last?

The little Garden of Good and Evil stature finally emerged from being buried deep under a snowbank all the long winter only to to be covered in snow again last week.
We had begun tapping the  silver maple trees.
Syrup boiling was suspended briefly.
But the sun came out and melted the last blast of winter pretty quickly. (Knock on wood-- last year we had a huge snowstorm on May 1st.)
The redwinged blackbirds returned in a huge flock, hundreds and hundreds of  birds in all the trees, just for a couple days.


A snippet of the sound.
The bees in the tip bar hive survived this brutal winter and began cleaning out the hive and scouting around.
I noticed  my bees were working over a dried, dead hyacinth pot I had moved outside to re-plant the bulbs,  so I brought out a pot of blooming daffodils--probably the only flowers blooming for many, many miles, and they quickly discovered them.
Each daffodil flower had 5 or 6 bees working it all afternoon.
I also put out a pie pan with slightly diluted honey (from my harvest from last fall) and a piece of bark  for a landing strip - and they were very happy.
A crew of friends from the UU church who call themselves the “Arborcidal Maniacs” came over to help remove a large dying ash tree at the corner of our garage. 
Cutting down this tree was heartbreaking and made an unbelievably huge mess.
Our friend Mike came back the next day, Sunday,  and worked on the tree cleanup all afternoon! (THANK YOU, Mike!)
We left Mike to his own devices  because we  spent the afternoon in Minneapolis, celebrating daughter Cadence's birthday. It was a glorious spring  day, so we walked to the Modern Times cafe...
(crazy sidewalk sandwich board at  Modern Times) 
We got our sandwiches “to go” and had a picnic at Powderhorn Park.
Happy birthday, dear Cadence!

It was a perfect day until we got home and discovered that Zinnie was missing.  After contacting all the neighbors,  walking the  woods, checking all the buildings, and  driving all the roads in a  2-mile radius with no sign of ZInnie, I posted on my Facebook page and two lost pets pages. Within an hour  over 100 people had shared  my lost dog photo. Within two hours two people  I did not know posted that they had seen her  jogging with people on the Douglas Trail that afternoon (apparently she had followed someone jogging past our farm while we were cleaning up wood and gotten lost on the trail.) Someone took her home and contacted Animal Control. The next morning I bailed her out and got her a new collar and tags. She was very happy to be home after spending a night in jail. Whew - I was a wreck worrying about her.  Thankful for the power of social media in finding a lost pet! 
Yesterday was Rog’s birthday. For his birthday present I got him a new used 20-qt mixing bowl for the Hobart mixer AND got the mixer  repainted. Above you see the “before,” a mixer that works great but is so ugly, with chipped industrial gray paint. 
I am happy to report that Rog was totally surprised and totally delighted with the squash-blossom yellow mixer makeover. I found a wonderful guy, Kevin, owner of Auto Refinishers plus in Rochester who sandblasted the old paint off and repainted the mixer with automotive epoxy for a reasonable cost. I will spare the details, but suffice it to say that moving this 189 lb. beast in and out of the pickup by myself and keeping the project a secret from Rog was a challenge.  
This may very well be the only bright yellow Hobart mixer in the world. It will be the centerpiece of our commercial kitchen. (I love that I am married to a man who is overjoyed getting a mixer for his birthday!)
Last night, we had a Birthday Mirthday Bonfire, burning the three huge brush piles from the felled ash tree in a huge bonfire. We roasted hot dogs and had chile,  deviled eggs, cupcakes and beer...
followed by music in the barn.  Thanks to everyone for making Rog's birthday such a fun celebration!
Today the snow is nearly gone--these two last small patches of snow and the ridge of snow that slid off the roof on the north side of the barn will surely be gone after today's forecast 70 degrees!  Happiness!!!


Thursday, October 3, 2013

Pesto Manifesto

I believe in pesto.
I believe that pesto is one of the universe's most perfect green foods.
I believe that you should make many batches of pesto in the fall to freeze and supply you though the winter.

This year our basil patch in the greenhouse has been extraordinary. While the garden basil is past its prime,  weedy and seedy and scruffy and tough, the high tunnel basil is still picture-perfect, with large, tender leaves and full, abundant plants. But the basil's days are numbered - it will very soon be too cold for basil even in the greenhouse, and it's time to transplant some cold season crops into that precious spot.

I have been meaning to transform that basil into pesto  for weeks, but dreading it because our old blender is just not up to the task. It is so annoying trying to get the leaves to feed down to the blades to be chopped up and not just whirl around intact. But, this week I splurged on a new blender/food processor called a Ninja, that boasted excellent consumer reviews. It has 1500 watts of power, but what impressed me most was that there is not a single blade at the bottom, but three tiers of blades! That ought to chop up the greens for my pesto and my smoothies. So, today I pulled up a few basil plants and eagerly loaded my pesto ingredients into the blender.
What a joyful experience - perfect pesto in moments! No intervention required to get the leaves to blend.  And the texture was just how I like it, with tiny, discernible bits of  parmesan, pine nuts and basil, not a green pureed mush. Oh, I am so happy with this new toy, I mean, tool.
I made two batches of pesto this afternoon, enough to fill an ice cube tray. I freeze the cubes, then after they are frozen, vacuum pack them individually. The color stays beautiful, bright green and the flavor stays vibrant and fresh.  One cube is the perfect amount of pesto for a meal for Rog and me. This tray is one cube shy of full because we ate one serving  for lunch.
I think this was my best batch of pesto ever - served on pasta. sprinkled with a few pine nuts and tossed with Indigo Rose tomatoes from our garden (they have dark purple skin and twice the amount of cancer-fighting anthocyanin as other tomatoes.)

Basil Pesto

2 c. packed fresh basil leaves
2 cloves garlic
1/4 c. pine nuts (or walnuts)
1/2 c. extra virgin olive oil
sea salt and freshly ground black pepper to taste
2/3 c. parmesan reggiano cheese (or pecorino, asiago, or a blend)

Combine the ingredients in the blender. In the Ninja blender, I just set it on "chop" and  turned it on for about 10 seconds and it was perfect. In a less powerful blender, pulse until smooth. Or use a big mortar and pestle and grind by hand--that's  how pesto got its name!

I like to toast the nuts slightly.  You can make wonderful variations of pesto--one of my favorites is to use fresh cilantro instead of  basil, with toasted pepitas instead of pine nuts and a little dried chile and a squeeze of lime to spice it up.  Yes, maybe I will make that version tomorrow.

Bon appetit!


Monday, February 4, 2013

A Perfectly Wovelly Afternoon

Time to give a little note of appreciation for the wovel, our shovel on a wheel.

I just cleared the snow from the driveway (450 feet long) patio, the parking area, in front of the barn, the paths to the chicken coop and loafing shed, not to mention the deep compacted hill at the end of the driveway left by the snowplow, all using the wovel - in just over an hour! It probably would have taken slightly less time with the snowblower, but it would not have been nearly as enjoyable. I got a little fresh air and pleasant exercise, with no snow blowing in my face or noisy engine or gas fumes or wrassling the heavy snowblower in and out of the barn or around corners, and absolutely no back or arm strain. Plus, no carbon emissions.

This was perfect wovelling snow-about 2 inches deep and not too sticky. I do admit, if there is a foot of heavy snow to remove and it's 20 below zero, then I'll probably choose the snowblower.  But the wovel is now going on 5 years old, is still going strong,  and has been one of our best tool investments.

Thursday, January 31, 2013

Getting a Grip

I had a pair of Yaktrax for walking the dogs when we lived in town because you can't rely upon people to always shovel their icy sidewalks. I can  manage the little bit of ice we usually get on the farm, so I decided to give them to Israel, our new son-in-law from Mexico, who walks to classes and is not used to navigating snow, ice and frigid cold.

Yesterday I was carrying a stack of sofa  cushions (part of my big upholstery project) from the car, treading very gingerly across the  ice, thinking "If I were to fall, at least I have a pile of cushions to land on!" No sooner did I think that thought than my feet swooshed out  sideways from beneath me and I whomped to the ground,  landing on my hip and elbow, but not on the cushions. Ouch.

So, last night I purchased another pair of Yaktrax. This pair is glow green- and I discovered this morning that they actually do glow in the dark! Probably not enough to light my way in the barn, but bright enough that if one pops off during evening chores I will be able to find it easily.
Plus, they color-coordinate  perfectly with the beautiful muck boots Rog gave me for Christmas! I wore the Yaktrax this morning. Our farmyard still has an inch of hard ice coating everything, but now it is also dusted with snow so walking is even more treacherous. It was so nice to walk confidently.  I happily realized that chores take half the time if you don't have to take baby steps and hold onto gates and bushes to keep from sliding downhill! That was $20 well-spent. Especially if it prevents a broken elbow or a concussion.

Sunday, July 29, 2012

Kind of Cheesey

Now that my contract job has ended and the garden is in maintenance mode, I  am finding time to makes some cheeses with our milk abundance. We make mozzarella weekly for pizza nights (not to mention ice cream, yogurt, butter and panneer), but I am still a beginner at hard cheeses.
Making cheddar is a putzy process, Here are photos of most of the steps for making a wheel of  Farmhouse Cheddar. First,  two gallons of raw milk are heated to 90F with the 1/4 tsp of mesophilic starter. Then it is left covered to ripen for 45 minutes.
Next, the rennet is stirred in gently with an up and-down-motion. It is left to sit for another 45 minutes while the curd forms.  The curd is sort of like a very firm pudding. Then comes my favorite part: You use a large knife to cut it into 1/2-inch pieces - I cut it into a grid and then slice at an angle.  As you slice, the curd separates cleanly from the whey and you have little pieces floating in yellowish, clear liquid.
The pot of curds and whey is placed in a sink full of hot water and the temperature is gradually raised to 100F. Keep stirring gently. The curds get bit firmer and the proportion of whey increases. The curds are allowed to rest for 5 minutes, then poured into a colander lined with cheesecloth to drain off the whey (the whey can be saved to make ricotta cheese, or fed to the grateful critters.)
The cheesecloth is tied up and the package of curds hung up to drain. I am fortunate to have a pot rack above my stove, so I hang it from the rack and put the pot beneath to catch the drips.  They drain for an hour.
This is my extravagant new cheesemaking tool - a cheese press ordered from Hoegger Supply Co.. The ball of drained curd is broken into walnut-sized pieces, a tablespoon of fine salt mixed in, and then the curds are packed into the cheesecloth-lined press.

The wood cover on top of the  curds is called the  Follower.   I also splurged on the springloaded pressure gauge accessory that allows me to apply pressure without a bulky, precarious system of weightlifting weights that we used in our previous home-made cheese press invention.
After ten minutes the  cheese is carefully removed and  unwrapped.   The  cheese press has squeezed out a lot more whey and the curds are beginning to  form into a wheel. The wheel is turned over, re-wrapped and placed in the press again at 20 lb. pressure for 20 minutes. A third re-wrapping and repressing is done at  50 lbs. for  12  hours.
Here is the beautiful  wheel after the third pressing. Next, the cheese is air-dried on a wooden board for several days, being turned over frequently so it dries evenly and the bottom does not get soggy.
My first two wheels  have now dried enough to form a hard rind. I am experimenting with a new product, cream wax, to coat the new wheels before I cover them with hard cheese wax.  [There is nothing more disappointing than cutting open a wheel of cheese after patiently aging it for months and finding mold inside.] The cream wax is supposed to prevent mold from forming under the wax.

The coated wheels are now in a 50-degree cooler to dry for a few more days before I coat them with the hard red cheese wax.

These photos showed the steps for making Farmhouse Cheddar; which will be ready to eat after just one month aging (August 26th, inscribing it on my calendar). I have also made some traditional cheddar,  which has several more steps and requires three to twelve months to age before eating. In the past we have had a 50% success rate on hard cheeses, but I am hoping with my new, more professional equipment and more practice, our success rate will improve.  After making my own, I realize that paying $8 for a wedge of well- aged, delicious raw cheddar is a real deal!

Friday, June 22, 2012

Tail Tale, Chapter 2

LaFonda can swat the flies off her back and legs now! (In case you haven't read my previous post, she came in to be milked with switch of her tail totally missing yesterday!) I made her a pink prosthetic tail and she seems to like it. She has been swinging it around all afternoon.
I found cow tail extensions available to order on line, but they cost $50 to $100. Today when I was doing errands I bought some supplies to try making one for much less:  Pink nylon line, super glue and double sided velcro.
I cut 18-inch lengths of the pink nylon twine and melted the ends with a match so they won't unravel.  I glued them to the fuzzy side of the velcro, then sandwiched the ends inside with another little strip of velcro so the dried glue bits won't irritate LaFonda's tail stub.
I braided the top few inches so the switch hangs together as a bunch. Then I gave LaFonda a treat while I velcro'ed it on.  She seemed puzzled at first, craning her neck to look at it and waving it around, but after a few minutes, she seemed to accept the prosthetic switch.

Next I will make one a bit longer and  thicker so it is more similar to her real switch.  I have plenty more materials; if she loses it I can make another.